
How to Write a 3D Product Animation Brief
Write a 3D product animation brief with a shot list, timing, movement references, storyboard approvals and delivery formats.
In this article
A 3D product animation brief should state what the viewer needs to see, what moves and which files must be delivered. Set the running time, shot priorities and approval stages before detailed animation begins.
Choose the kind of film
A product reveal introduces shape, finish and identity. It needs a clear visual progression and a final view that makes the product recognizable.
A feature explanation shows an action or relationship: how parts fit, where air moves, or what a control changes. Product accuracy matters at every stage. Ask the person responsible for the mechanism to review the storyboard.
A social loop is designed to repeat. Its first and last moments need to join deliberately, and the product must remain legible in the intended crop. A loop is not automatically a shortened launch film.
These can share assets, but they should not share a shot list by default.
A concrete reference: Clay Wax
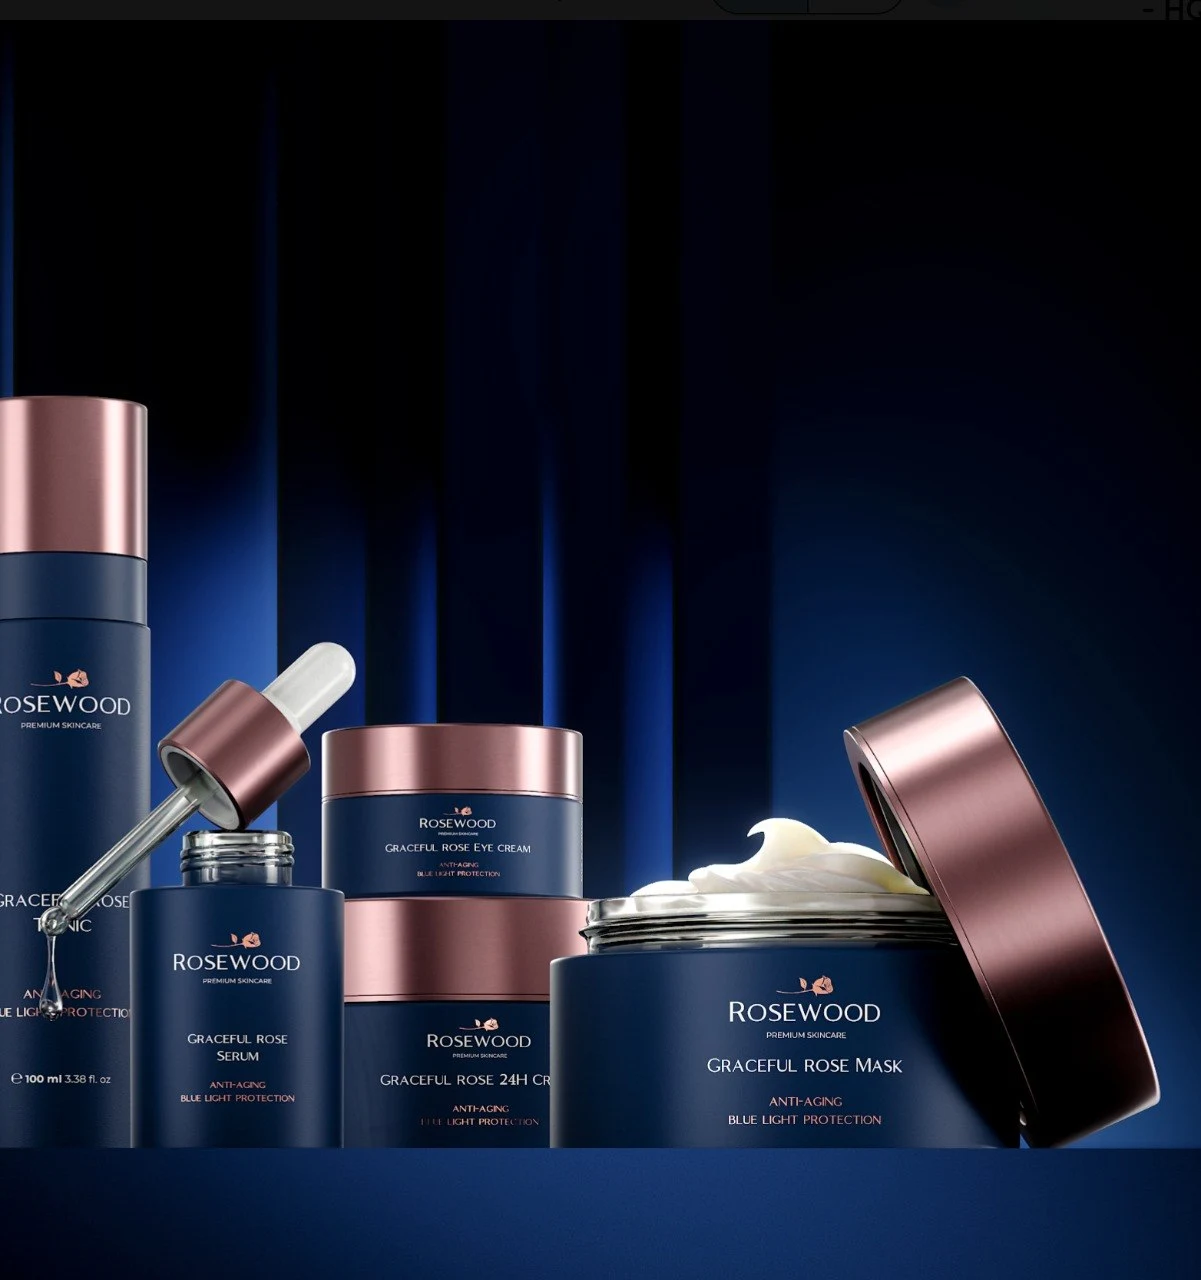
The silent Il Barbiere film on our product animation service page moves closer to an open jar on veined stone. The lid, lettering and wax remain the subject. It is a useful reference for a material-led product shot: camera and light create interest without needing an exploded assembly or a feature diagram.
That observation does not mean every cosmetic product needs the same treatment. A pump mechanism may benefit from a functional sequence; a range launch may need several packs to share the frame. Choose the reference for what it explains, not simply its atmosphere.
Approve timing before surface detail
An animatic is a rough version of the film used to judge camera movement, shot order and timing. It should make the story understandable even when materials and lighting are unfinished.
At this stage, check whether the important feature has enough screen time, whether the transitions make sense and whether the final frame leaves room for a headline. Changing the sequence here is more manageable than discovering a missing shot after final frames have been rendered.
Supply information about what moves
A still-image model may not contain the underside of a lid, the inside of a housing or the moving parts of an assembly. Mark what will open, rotate, separate or deform. Include a reference video or an explanation of the real action where possible.
For technical sequences, distinguish an illustrative cutaway from a physically accurate operating demonstration. The film should not imply a performance claim the product team cannot support.
Use the CAD handoff guide to organize the source assembly and finish references.
Agree the delivery matrix
List the actual destinations: website hero, product page, presentation, paid social or exhibition screen. For each, record aspect ratio, duration, resolution and whether text or audio is needed. Confirm the current platform requirements before final export.
A wide frame with a product at one edge may not survive a vertical crop. Identify the shots that need a dedicated camera, rather than assuming every format can be extracted from one master.
A brief you can send
- The product and its current stage of development
- One sentence describing what the viewer should understand
- Required actions, features and product variants
- Available CAD, artwork, references and existing renders
- Visual references with an explanation of what you like about each
- Destinations, formats and audio requirements
- Approval owner, review dates and final deadline
The product CGI brief provides a starting document. Add the motion-specific information above, then use the first review to resolve missing inputs before production expands.
From insight to practice
Explore the work
Need product visuals for a real project?
Show us what you have and what the images need to accomplish.
Discuss your project